Best Smart Blinds Compatible with Alexa & Google Home in UAE
The demand for smart home automation in the UAE is rising for energy efficiency, security, and a luxurious lifestyle. Smart blinds add comfort, convenience, and a stylish look to your…

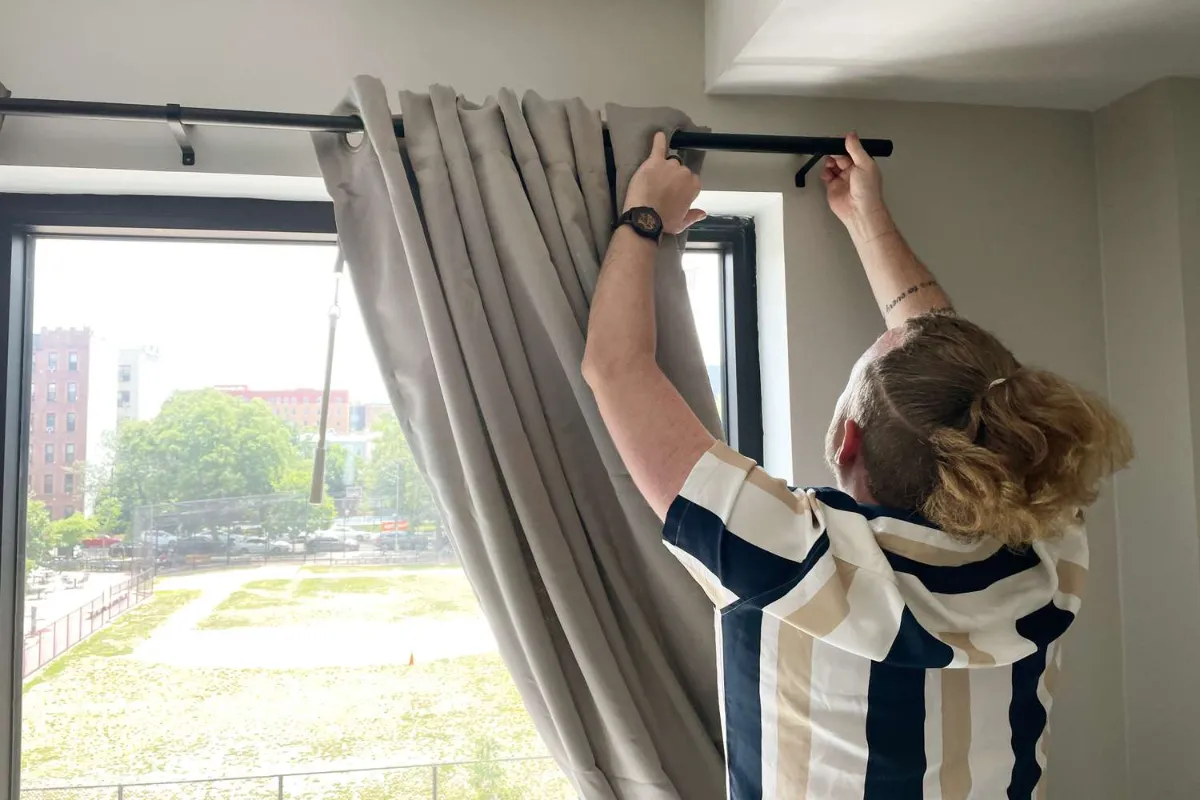
Curtain hooks are the necessary hardware that connect the curtains to the rods. They are useful for hanging luxury curtains & their smooth functionality. They are securely attached to the backside of the upper end of the window cover. These hooks make it easy to attach the drapes to the rings. The hooks make curtains easy to hang and adjust because they can move effortlessly on the rods, ensuring a quick opening and closing experience. Moreover, with them, you can easily remove or install the curtains for washing or transformation. For the complete guide on how to hang curtains with hooks, keep reading this article.

Before learning how to hang curtains with hooks, it is essential to understand the types of hooks that complement certain drapery and their heading styles.
These hooks are widely used to hang pinch pleat curtains on curtain rods or tracks. They are also known as pleated drapery hooks. You can adjust them to the curtain header tape to create uniform pleats and then attach them to the rings or gliders.
These are a type of hook that helps attach the pleated curtain to the rod for proper hanging. They are suitable for both pleated and non-pleated (flat panel) drapery. They come in metal or PVC.
Another typical style is the clip-on hook. You can use clip hooks for both lightweight and blackout window curtains. The clip is on the hook and cannot be used until the rod is fixed. Because the clip is attached to the curtain for grip, and the hook is then inserted onto the rings that move on rods.
The lightweight, S-shaped hooks are affordable and readily available. Because of their simple, sleek design, they save space. They are best for the eyelet curtains. One end of the hook is passed through the eyes, and the other through the rods.

A versatile range of hooks is available on the market; hence, their suitability for a specific curtain style may vary. See the tips below while choosing the right hook for your curtain style.

Before hanging curtains with hooks, you need to know the tools and materials required for proper curtain installation.

Once you have selected the correct rings for your chosen curtains, let’s prepare the windows for drapery hanging to achieve a balanced aesthetic.
In general, the curtain rod should be higher than the window frame for a proper drapery look & functionality. So, when you decide to install a pole, rod, or track, the accurate measurement is crucial. If the rod is close to the window, it will disrupt the visual flow and uniformity, giving the space an incomplete look.
For a professional and sophisticated look, add 6-12 inches to your window length. To ensure proper coverage, the rod should be 4-6 inches wider on both sides of the frame. If it is not maintained, the narrow curtains will make your window look smaller, making it difficult to control light and thermal insulation.
Once the rod placement is done, decide which curtain length is required. You might need a sill-length, full-length, or apron-length curtain depending on your space and desired aesthetics. To determine the exact length, measure from the top of the rod to the floor. For a modern look, choose the floor-length drapes. For a sleek look and easy operations, go for the sill-length drapes. For a luxurious look, select the puddle length.
For installing rods, the brackets must be in their proper position. To mark the correct position of the bracket on the wall, use a measuring tape and mark the bracket’s position a few inches outside the window frame. Trace the screw areas on the bracket. Then use a level to check that it is properly aligned, and follow the same method for positioning the other side of the brackets. After drilling holes, fix the rods.
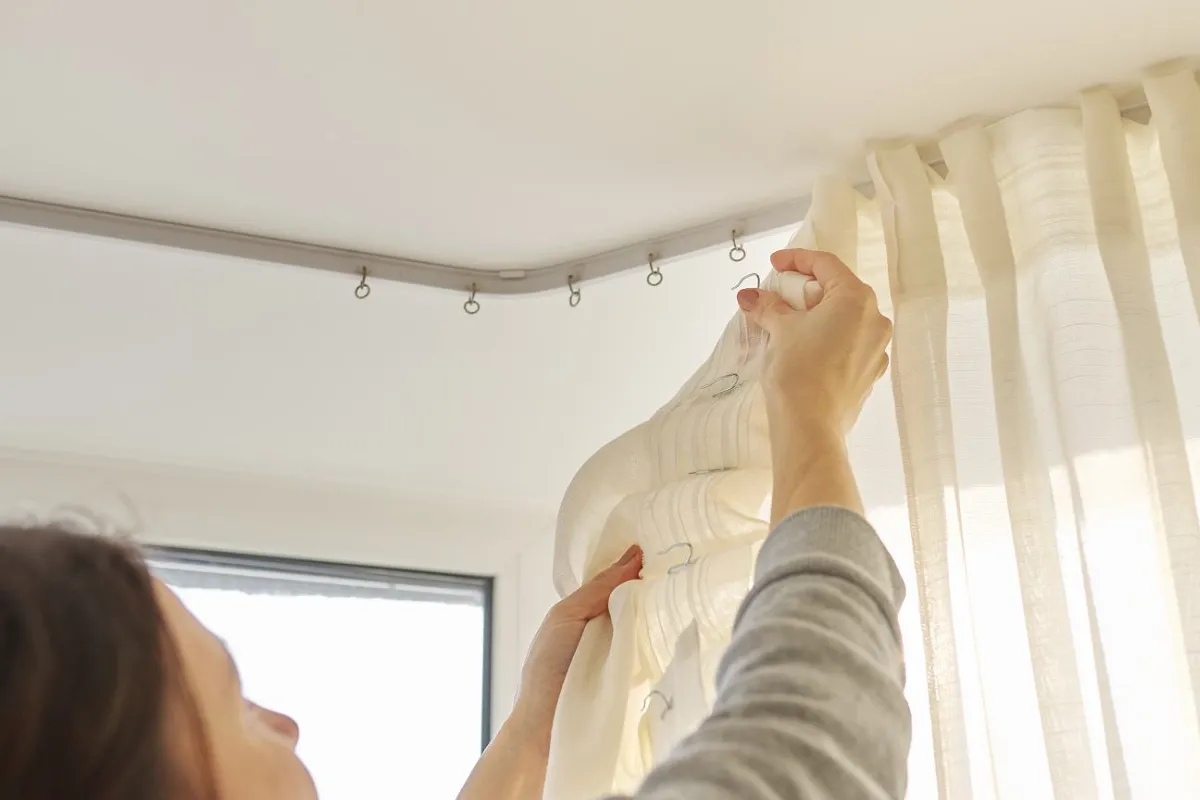
Once the rod is installed, the next task is to put on the drapes. Pleated and grommet curtains need rings to be inserted first. See the step below for the perfect attachment of the hooks to the relevant curtains.
Pleated curtains have heading tape on the upper and back sides. On tape, there are pockets where hooks will be inserted. While attaching hooks to the drapes, hold one side of the pleated window curtain, and insert the hook in the first pocket. Make sure the pointed end is inserted, while the flat end of the hook will help you hang the hooks on rods.
Your hooks should be spaced evenly. Too sparse or too close hooks will give a poor aesthetic. Insert the hooks into every 4th or 5th pocket to ensure they are evenly spaced. To make a balance, calculate the number of hooks you need. Then count the number of rings on the rod and divide it by 2. This calculation will give you the number of hooks you need to insert in pockets at equal intervals.
For adjusting the hook depth, insert the hooks into the 1st, 2nd, or 3rd pocket of the header tape. Hook depth is the distance from the bottom of your drape to the upper end of the hook. If you want to keep the rods visible, then attach the hooks to the first pockets. Similarly, for a balanced look, attach the hooks to the middle pockets. Inserting the hooks into the third and the lowest pocket will hide the rod and create a modern look.

After you have attached all the hooks and adjusted the depth, it’s time to fit the rod and hang the curtains on the rods. Let’s have a look at each step for the perfect installation of curtains.
Once all the hooks are inserted, it’s time to lift the drapes and hook them to the fitted hardware (grommet, pleated curtains). The eyelet drapes need no hooks as they directly slide on the rods. For pleated curtains, you can either hang them on rods or hang them directly on poles. For lifting them on poles, insert hooks at the 1st pocket so the pole is visible. Start hanging the hooks on the rods from the middle and go outward. Similarly, follow the steps for the other side.
If you want to fix the curtains on the tracks, insert the hooks in the middle or 3rd pocket so they are attached to the gliders, which will not be visible for a smooth look.
After fitting the curtains on the rods, check their alignment and spacing. See them critically, ensure they hang gracefully, and make vertical lines. They look straight with suitable fullness. If the curtain length is misaligned, fix it first for a balanced appearance. Your curtains fall & pool on the ground only if you need a dramatic look. In most cases, the curtains touch the floor for a casual look, with the hooks spaced appropriately. If they are not spaced correctly, they will create a flat, too-gathering look, leaving a negative impression on your room’s aesthetics.
To make your curtain look complete, ensure the pleats and folds are evenly spaced to create a uniform appearance. Use your hands to adjust the folds to your required style. Starting at the upper end and working down to the lower end of the curtain, making the folds manually. They must be uniform and consistent to create an even appearance. Also, open and close the curtains to check out their smooth operation. They must glide effortlessly along the rods without any hassle.

After hanging curtains, you need to analyse for a professional look and a stylish look. Be relaxed and make some final adjustments.
Now, everything is clear about the fixing of curtains with hooks. The hooks are simple and flexible, offering the desired lengths, styles, aesthetics, and care options compatible with every decor. The right hook will help you hang the curtains of different heading styles, including pinch pleat, pencil pleat, or flat panels. They are functional with rods or tracks. Because of durability, you can use them for light and heavy drapes.