Best Smart Blinds Compatible with Alexa & Google Home in UAE
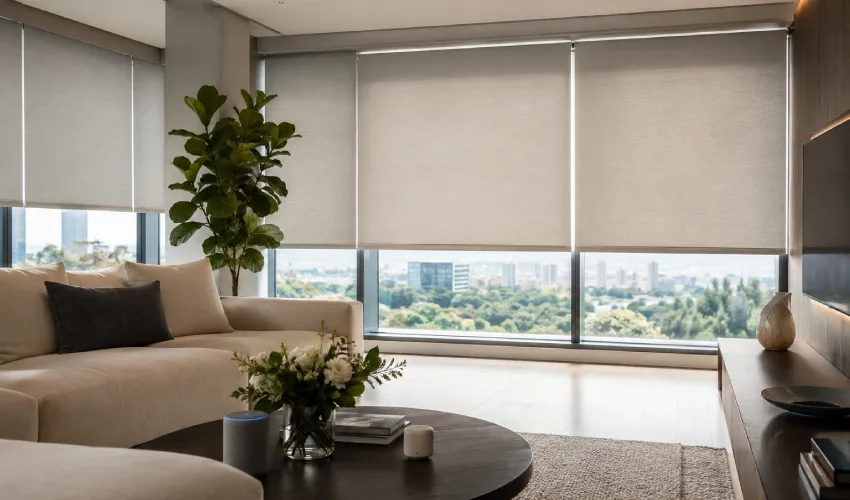
The demand for smart home automation in the UAE is rising for energy efficiency, security, and a luxurious lifestyle. Smart blinds add comfort, convenience, and a stylish look to your…

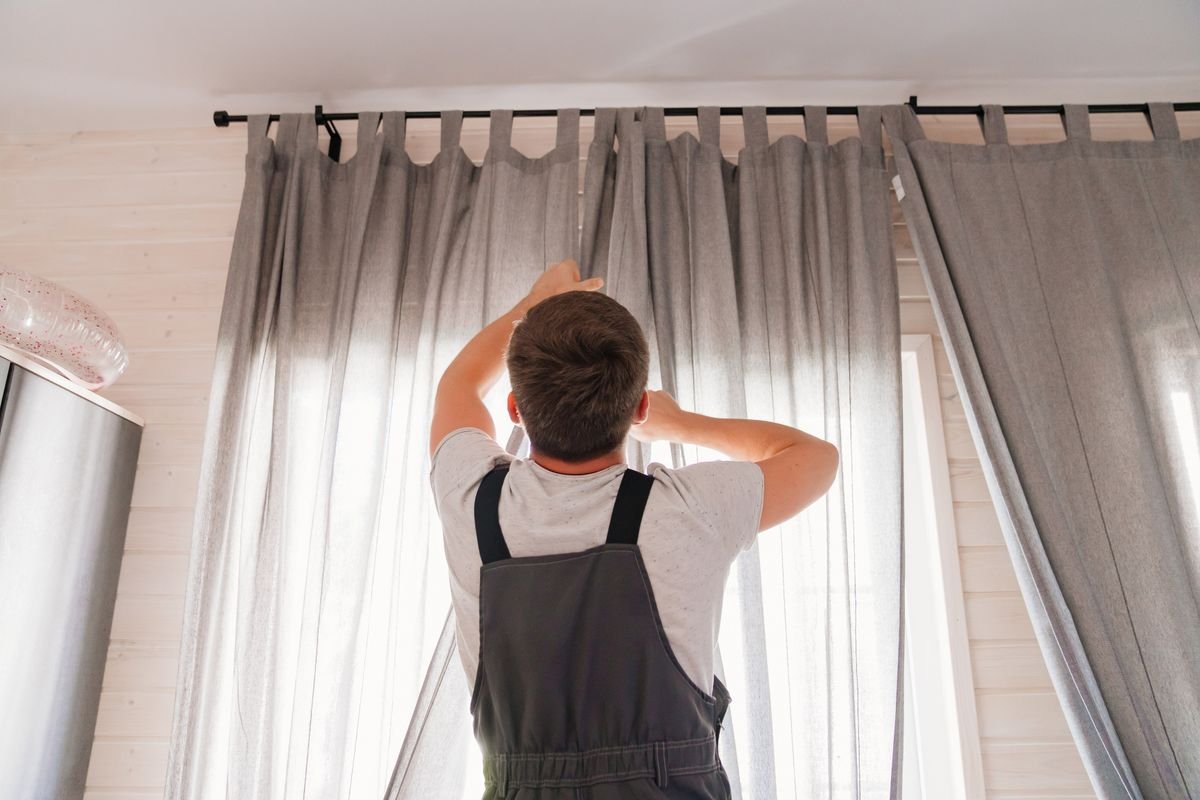
Proper installation of the curtain rod is essential to hang your drapes evenly, creating a uniform visual flow. The placement of the rod affects the aesthetics and functionality you desire for your Window Curtains. Being secure, they help glide your curtains smoothly and adjust them to control light and privacy levels better.
Once the rods are installed correctly above the window frame, their complete and balanced look will make your room feel tall, open, and airy. For those trying to install curtains on their own, we provide a step-by-step guide to hanging a curtain rod.
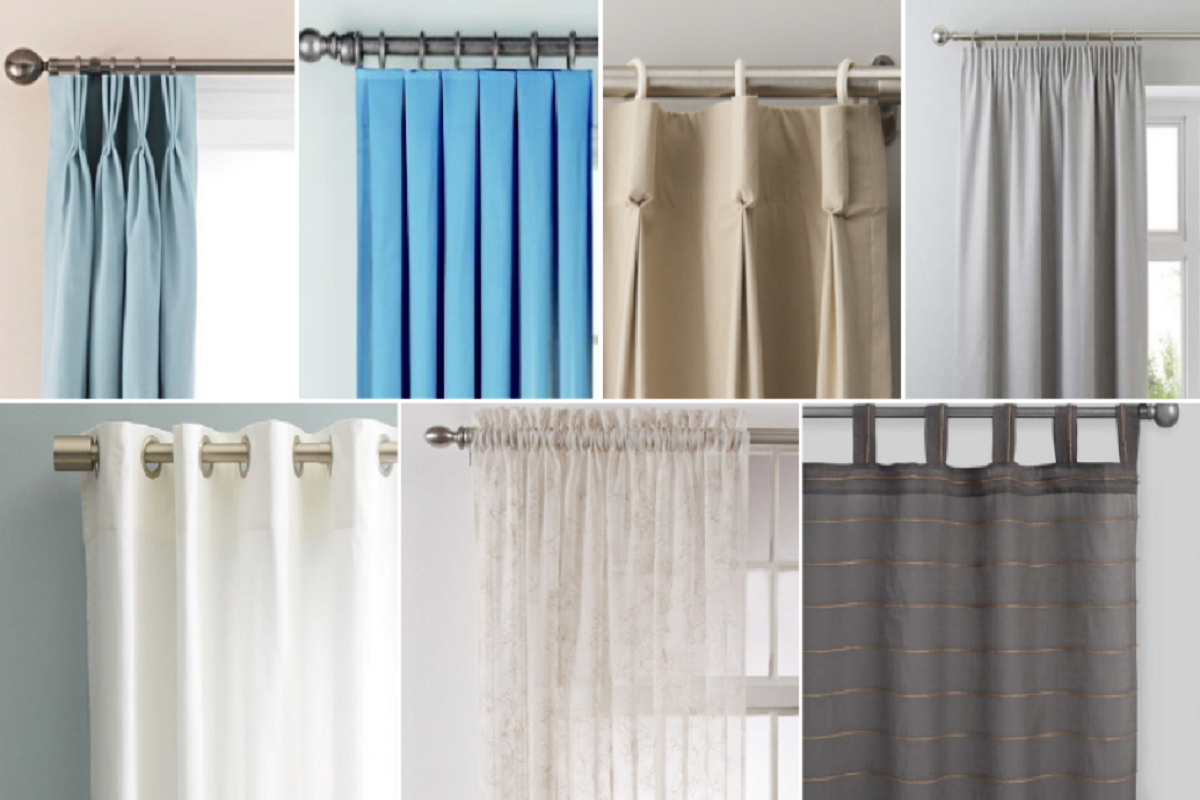
Before the fitting step, you must know the popular types of rods. This way, you will choose the right one that performs best and is suitable for your window style.
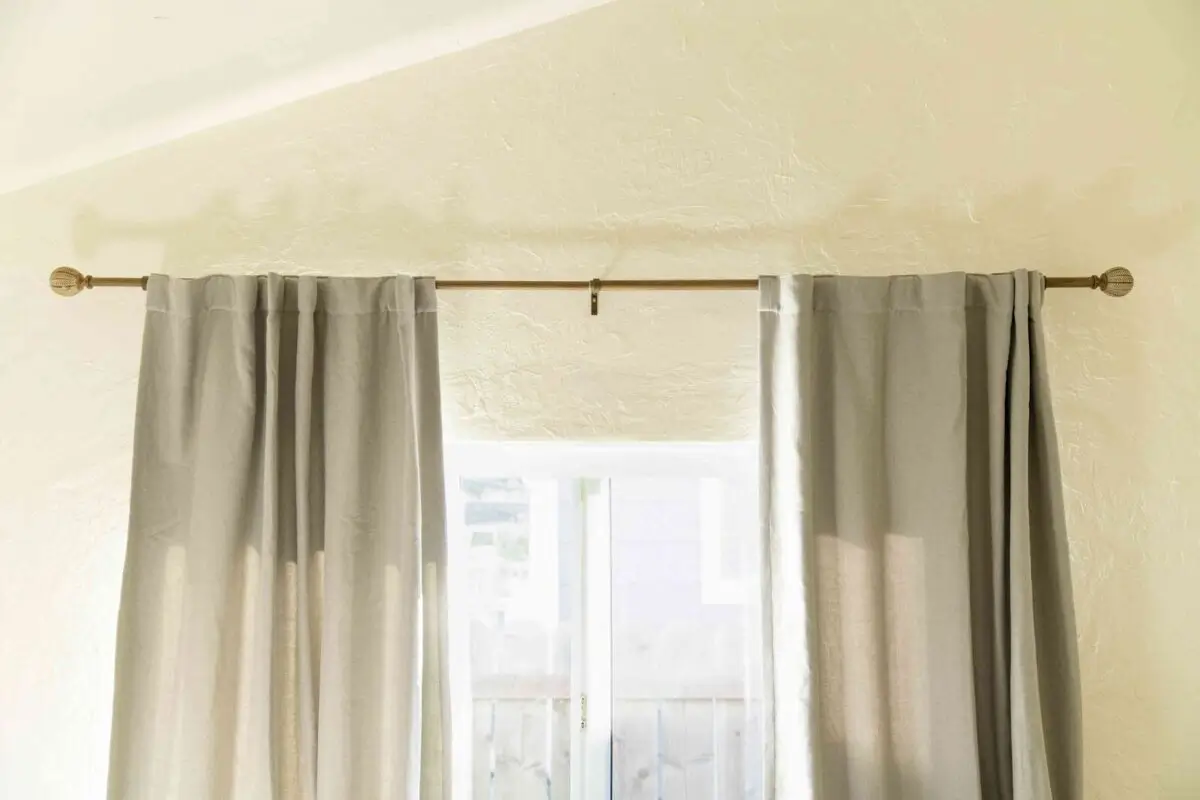
The most common curtain rods come in different finishes and materials, such as wood, metal, and aluminum, to suit various decors.

One of the easy-to-install curtain rods comes with tension springs. They are best installed between two surfaces/walls.

For layering, a double rod comes with two tracks that let you hang sheer curtains inside and blackout curtains outside for better functionality.

To improve the aesthetics, some curtain rods come with beautiful finials and finishes. They add visual interest and are best suited to achieve a modern look.
To fix the rods on your window, you’ll need some tools and materials. Before you start, try to gather all the essential tools for a smooth & distraction-free experience.
Sometimes you need optional tools for tricky installations of curtain rods. These include a laser level to get a precise level point for installing rods on uneven or textured surfaces. Others include:

The crucial step in a perfect home curtain installation is the proper placement of the rods. It varies depending on your window style, curtain type, and desired visual preference. Before placing the rods, you need to know the exact measurement of your windows.
For rod height, mount the rod 6-8 inches or more above the window top to create a sense of tallness. Keeping the rod as close to the ceiling as possible will give a greater illusion of window & ceiling height. Ensure the silk curtains on these rods just touch the floor; a puddle will create a dramatic effect.
To know the rod length, measure the window width first. Then add 16-24 inches to this measured length to get a proper rod length for your drapes. Placing the rods according to this calculation will extend the rod beyond the window frame and create a sense of fullness.

Here is the complete DIY guide on how to install the curtain rods on your specific windows with precision.

Once you have all the dimensions calculated for rod height and width. Then there comes the installation process. It starts with knowing the exact location of brackets on both sides of the window frame. The general rule is to keep them wider, which is about 3-5 inches beyond the window’s sides. Use the level to keep the position straight, and mark the correct position for the brackets with a pencil. In addition, mark the screw hole on the bracket for easy assembly.

After marking the bracket positions and screw holes, start drilling using a drill bit. During drilling, insert the wall anchors for screws into the holes before attaching the brackets. Wall anchors ensure a secure fitting of the brackets thereafter. They also provide support to hang heavy drapes.
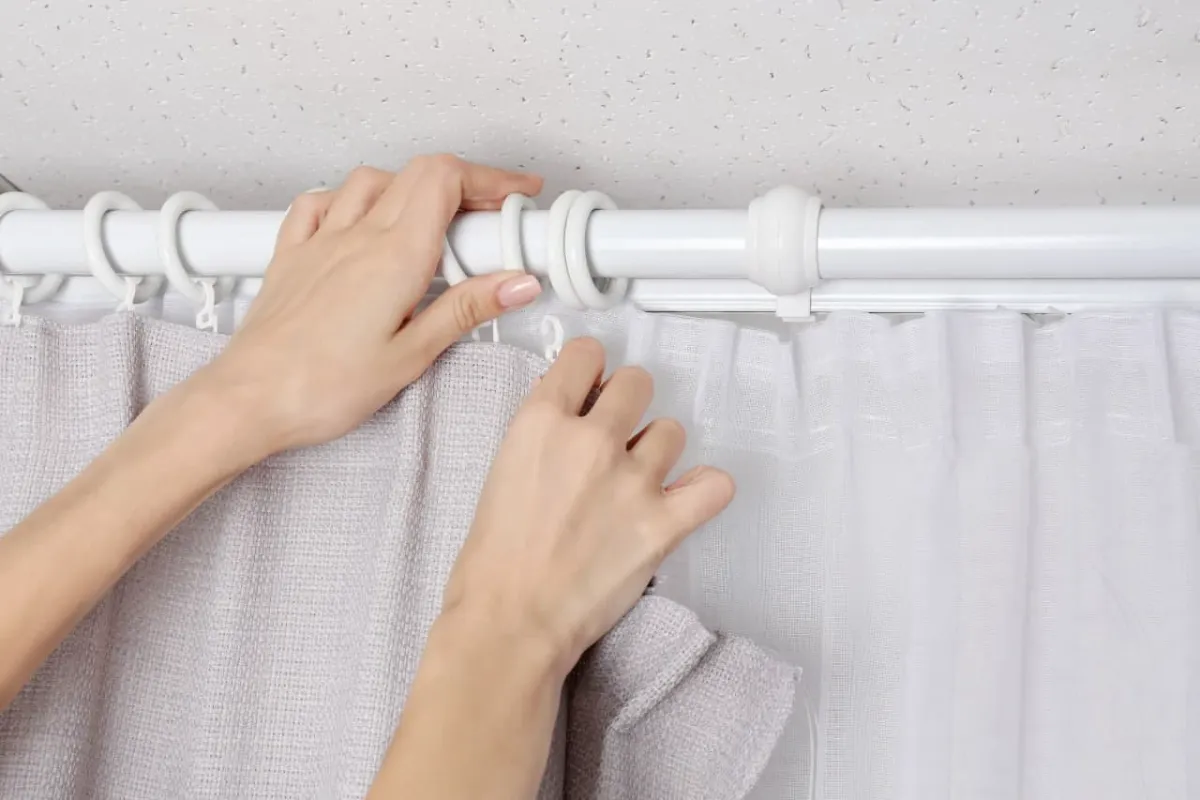
The next and most crucial step is to attach the brackets to their marked position. With the help of screws, fix the bracket on one side of the window frame using screws. Make sure they are not fastened tightly.
To mark the second bracket position, place the rod in the first bracket. Use the level on the other side of the window frame to check that your rod is horizontal. Then mark the site for the second bracket. After drilling a hole, attach the second bracket with the same procedure you followed in installing the first one.

Once you’re done with bracket fitting, mount the curtain rod and ensure it is level. For proper fit, slide the rod into the brackets until it is balanced and centered on both sides. Tighten the screws on the brackets. If your rods have decorative finials, remove them for hanging the drapes.

The last step is to hang the curtains. So, take the curtain panel and carefully mount it on the rods. Similarly, add a second panel or a ring of drapes to the rods. Attach finials to both sides and tighten them for a proper finish.
To enhance the look and add final touches, adjust the pleats or folds of the curtain so they look neat and flawless from top to bottom. For required aesthetics, if you want to add flair to your window treatments, tie the tiebacks at the ends.

Have a look at the expert’s tips that should be useful to you during a DIY curtain rod installation.
If you have a sloped ceiling, mount the rods along the slope to create a balanced visual appearance. Find the highest point on the wall and mark a position 3-6 inches above it to make your room ceiling look taller. Use adjustable brackets on both sides and hang the curtains for symmetry and balance.
For rental places, you can use adhesive curtain brackets that attach directly to the wall without drilling.
The material and quality of the curtain matter a lot when hanging heavy velvet curtains. If your rod is of poor quality, it will not bear the weight of the drapes and may fall, causing injuries or wear and tear to the objects coming in its way. Durable metal, steel, iron, brass, or aluminum rods are strong enough to support the heavy drapes. They last longer and avoid binding, breakage, or damage caused by frequent use and the weight of the drape.
For a complete look and fullness, avoid the common mistake of placing rods too low or too high, which can look unattractive. Always use high-quality rods and brackets to prevent sagging and to ensure lasting performance.
So, we have covered all the details in steps for installing curtain rods. Accurately installed curtain rods will help your curtains hang beautifully. This will also enhance the drapes’ functionality. Your room’s function, style, and aesthetics are important factors to consider before installing curtain rods. For a perfect fit, precise measurements are essential. For a polished, cohesive look, read the above guidelines very carefully.