Best Smart Blinds Compatible with Alexa & Google Home in UAE
The demand for smart home automation in the UAE is rising for energy efficiency, security, and a luxurious lifestyle. Smart blinds add comfort, convenience, and a stylish look to your…

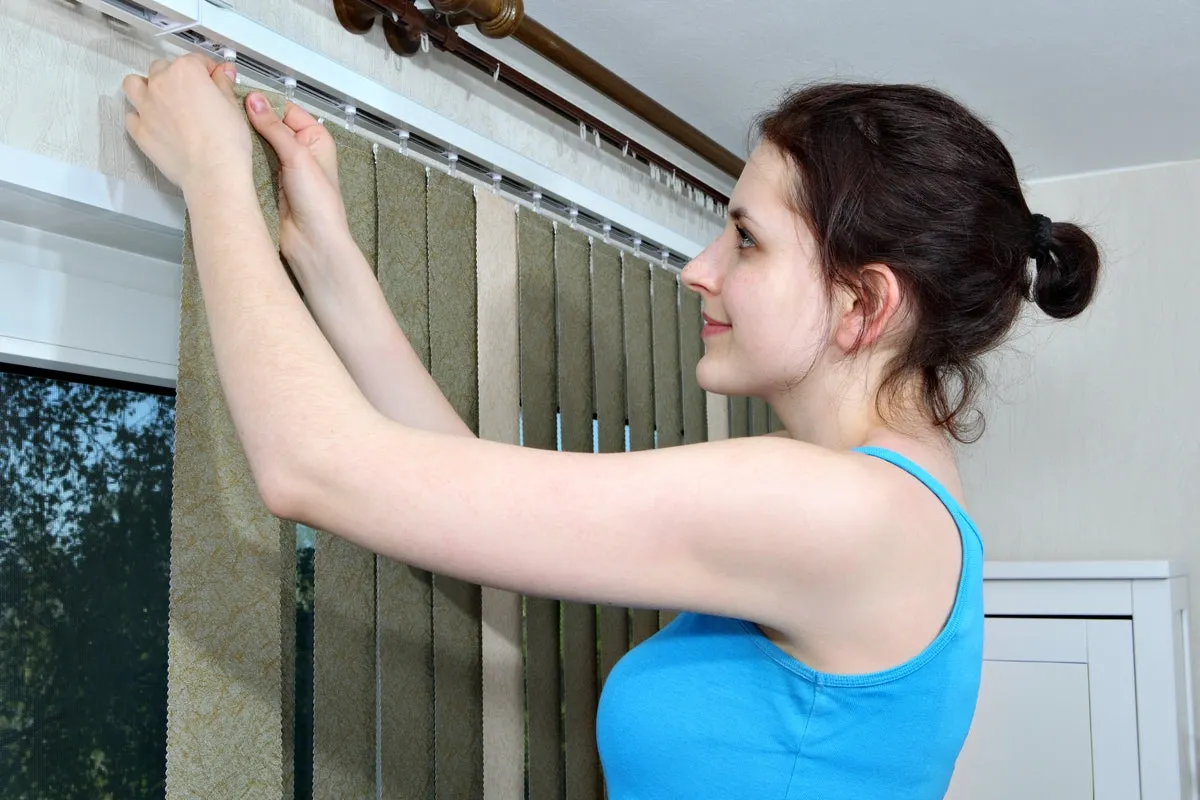
Vertical blinds are the practical and ideal window solutions for large or extra-wide windows and sliding glass doors. Dubai homeowners prefer them for their performance. They control light and outside views to create a cool, private space. The vertical slats are attached to the headrail and can be tilted with a cord or wand. Because of their easy-to-fix vanes, many people prefer to install these shades themselves to reduce installation costs.
However, any mistake or improper fitting of vanes can affect the functionality of window blinds. So proper installation is necessary for better performance, durability, and appearance. To learn how to install vertical blinds, follow this step-by-step guide for perfect window coverage.

Vertical blinds are window treatments with vertical slats of varying sizes. Slats are attached to the top rail and tilted to control light and privacy. These slats are made of various materials, such as fabric, vinyl, PVC, polyester, aluminium, and faux wood.
These vertical window shades are commonly used for patio doors, large windows, and office spaces. They are easy to maintain and adjust the light using a tilting mechanism. The vertical slats can twist to 180 degrees, making it easy to adjust sunlight levels. The elongated slats attract less dust than horizontal vanes; therefore, they need less effort for care and maintenance.

Never forget to gather the required tools and materials at your location to ensure a smooth, hassle-free fitting. To learn how to fix vertical blinds, look at this list of essentials and the required accessories.

Accurate measurement of windows is a crucial step in properly fitting vertical shades. So, before buying blinds, measure the window with the right tool to avoid errors. Fabric or plastic tape can stretch, leading to incorrect measurements. Metal tape gives accurate results.
When you install the window treatments inside the window frame, this is called an inside mount. Measure the width and height inside the window frame, ensuring enough depth for the headrail. Leave 3 inches of space inside the frame to allow easy movement of slats. Inside mounting offers a clean, modern look and is suitable for luxury homes and offices.
Installing window blackout blinds on the outside of the window frame or wall is called an outside mount. Start measuring beyond the window frame for better coverage. This mounting style will give your windows a wider look. After measuring the frame from one end to the other, add an extra 2 to 3 inches to this measurement to account for light blockage.
Accurate measurement of windows is necessary to get the right size of the window shades. Properly fit blinds, either recessed or face-fit, help prevent light gaps and ensure smooth operations.

If you are looking for DIY techniques, learning how to install vertical blinds, this guide will help. Let’s share with you the step-by-step process to fix the vertical shades on your windows.
The right placement of brackets is an essential step while fixing vertical shades. Hold brackets against the wall or window frame and mark screw holes with a pencil. Make sure the brackets are placed about 4 inches from the headrail/track system. To align the track, use a level to keep it straight.
For larger windows, add more brackets in between to ensure even spacing (30 inches apart). Do not forget to mark the position of each bracket with a pencil before attaching it to the inside or outside of the window frame.
Once you have marked the positions for the blind mounting brackets, place the brackets at the marked locations and drill pilot holes if needed. See the wall type for accurate fitting. The drywall needs wall anchors to secure the bracket screws. Then secure brackets using screws. If you opt for an inside mount, then fix the brackets at the top of the window recess. For the outside mount, Roller Blinds will rest outside the frame. Before attaching the headrail, check that the track system is securely fastened.
When the brackets are fixed, insert the headrail into the mounted brackets. Look for the locking system of your window shades and adjust the headrail according to that method. Every track system has a locking system to ensure proper fitting.
Connect the front edge of the headrail to the front bracket hook. Then slightly press and rotate the headrail towards the back of the brackets until you hear a click. It shows that the rail is fixed in the correct position on the brackets. Always snap or lock it in place, depending on the system.
After attaching the headrail to the brackets, the next step is to install vertical vanes with this rail. The hooks are attached to the headrail to attach the vertical vanes. Start attaching each vane to the clips on the headrail. Before fixing it to the railing hooks, rotate the slats to set the hooks at a 190-degree angle for easy insertion.
Simply insert the vane into the headrail hook and pull it down to lock it completely. Before adding weights and chains of blinds, make sure they hang evenly on the track.
When you are done with the vanes installation, see the bottom hem of your blinds. If there is no sewn-in weight, then arrange them and fix them first. This will help vanes stay straight and stable with no tangling effects. Attach chains to each weighted vane to ensure these two work together for better light control and privacy.
To reduce the risk of accidents, attach safety clips to walls or the window frame to hold cords. These should be out of the kids’ reach.
After the control system is finalised and installed, attach decorative valence clips for additional beauty and protection against dust and UV rays. Valances are decorative elements that hide the top rail or mounting system of your vertical blinds, giving your window a stylish look. Place the valance over the headrail to protect its mechanism.
After you have completed the fixing task, rotate the slats to check the movement. Open and close the slats to check their functionality. If there is any difficulty gliding smoothly on the track, check the reasons and adjust the alignment if necessary.
Improper installation will result in poor performance and a shorter life span. Some mistakes happen during the fixing process and cost you a lot for repairs or replacements. Below are common blunders that can get you in trouble; avoid them when fixing vertical shades.
For a complete and organised finish, follow these expert tips while fixing the vertical blinds.

Once you have learnt how to install vertical blinds, you must understand the considerations for maintaining the condition of their vanes to perform at their best for longer. Note these expert tips for keeping them fresh and new.
The above installation technique is valid for standard windows, and if you avoid mistakes during the process, you will get a perfect look. Below are the situations when you need to get assistance from professionals. They ensure accurate measurement, proper fit, and vane alignment to reduce repair and damage costs.
To fix the vertical blinds on your windows, decide whether to mount them inside or outside. Then start with the bracket position. Mark the right place for the brackets using a pencil. Attach the brackets and screw them after making holes with a drill machine. Attach the top rail to the frame or wall, and fix the vanes to the hooks on the headrail. Use weights, chains, and safety clutches to hold the blinds in a stable position while allowing easy slat rotation. For self-doing, installing vertical blinds is simple with proper preparation. For a perfect fit of vertical slats, measure the windows accurately and follow the step-by-step instructions.